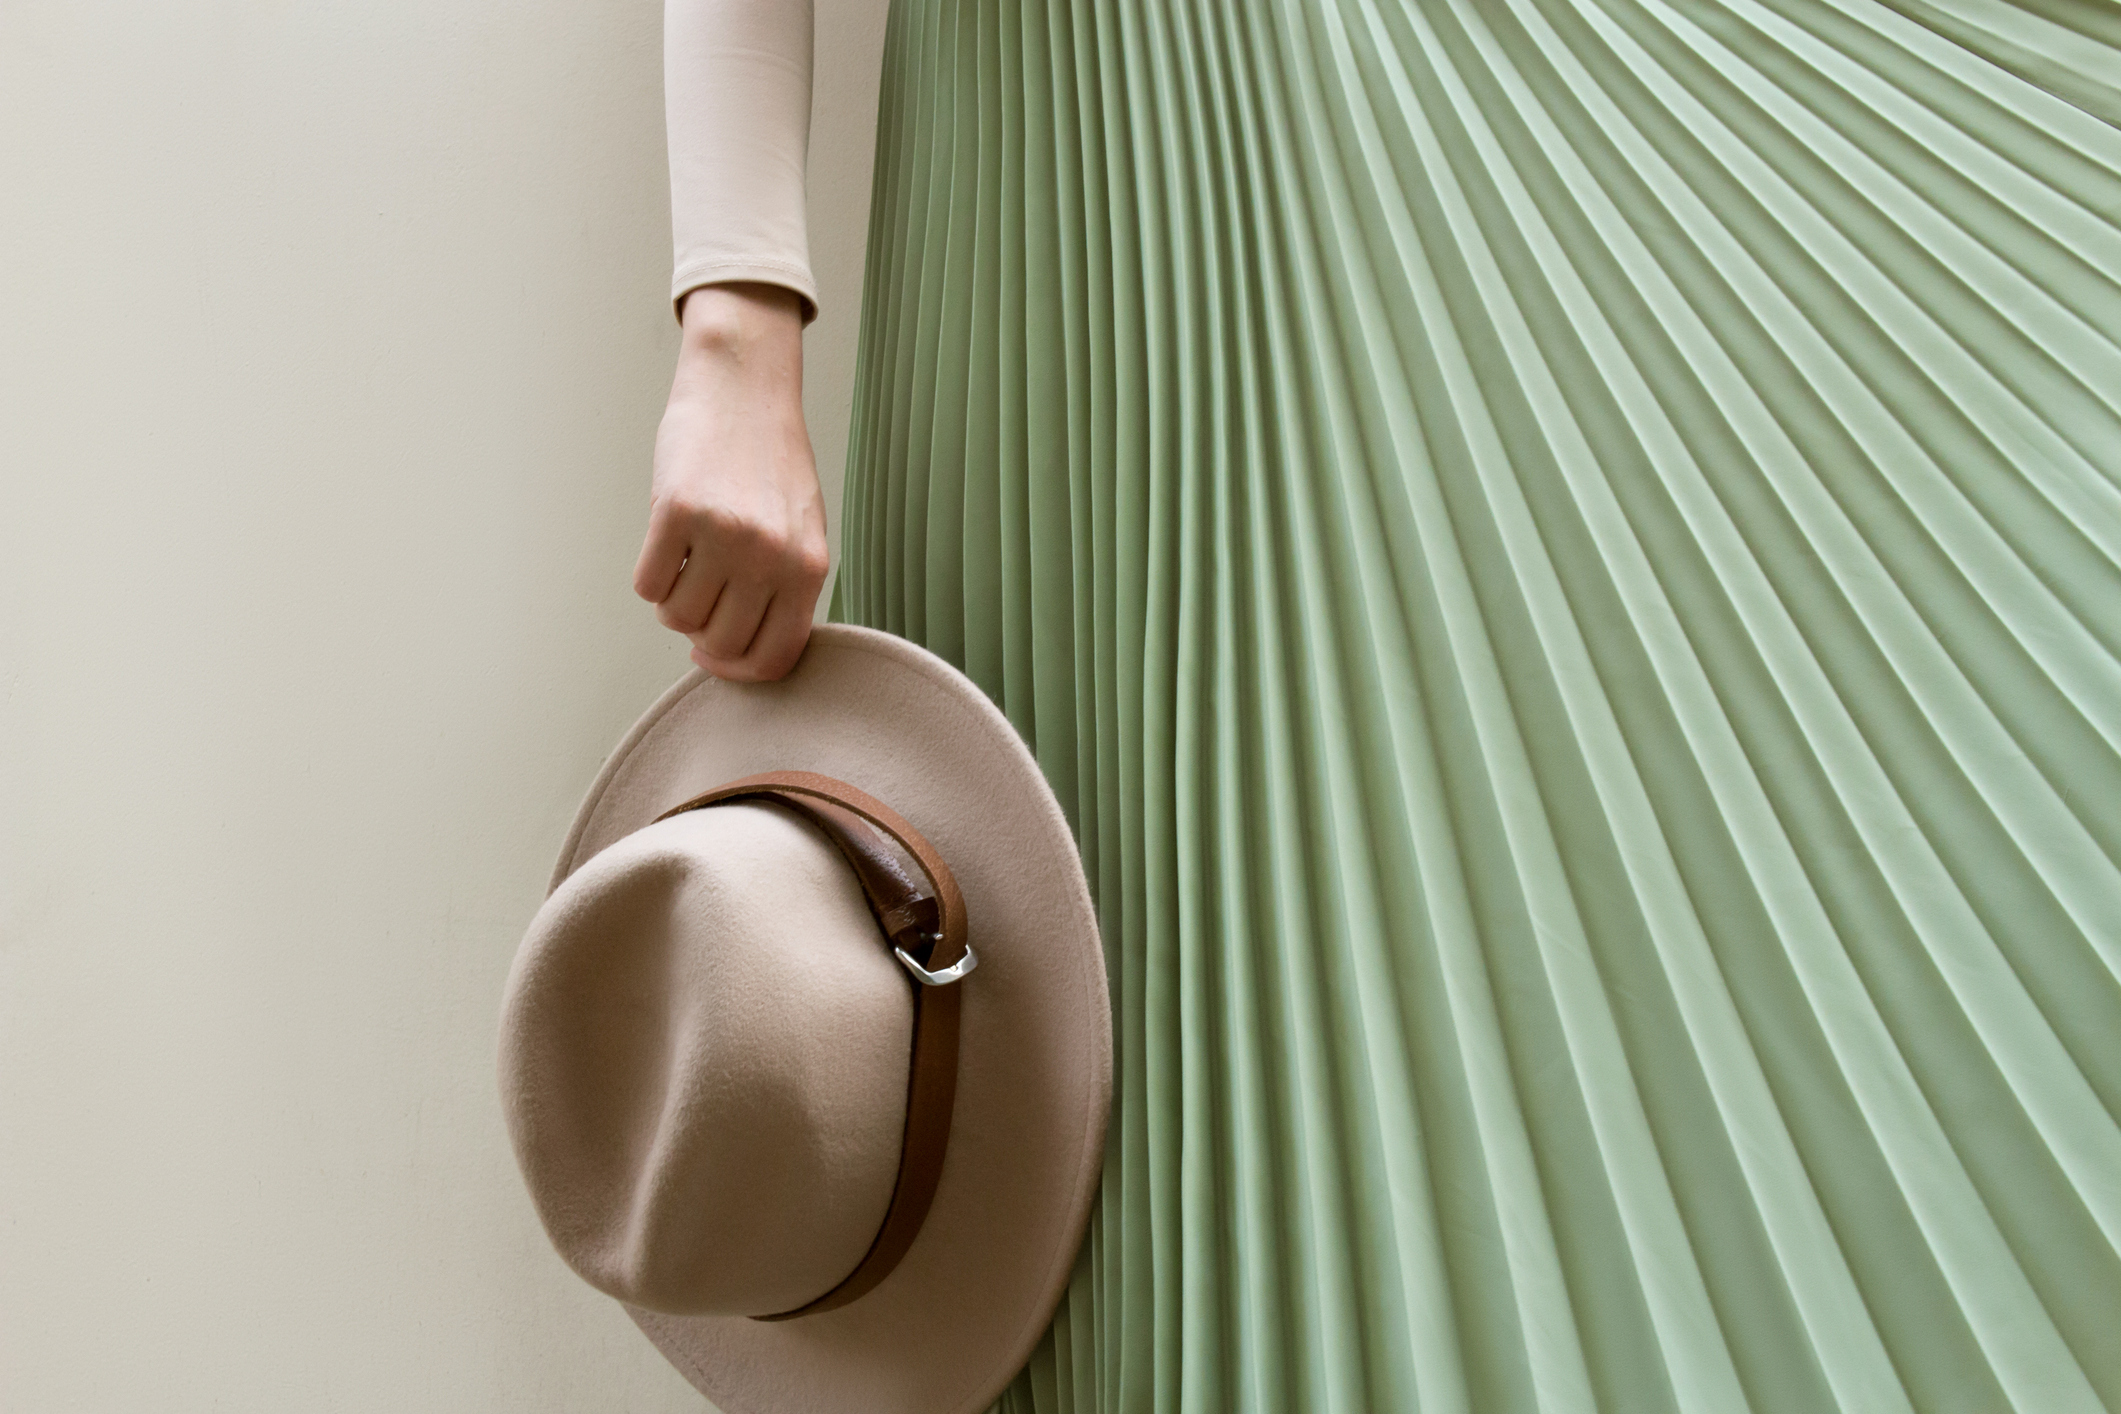
The pleated skirt is versatile enough to be styled for every season. Flattering on every body shape and sold in an array of beautiful materials, this classic is the embodiment of femininity and should be a staple in every woman’s wardrobe.
A pleated skirt consists of multiple folds which are created when the fabric doubles back onto itself and is pressed or sewn into place. Pleated skirts usually comprise numerous pleats that stretch round the whole of the skirt, although some have been styled with just a few to add texture and shape to the front.
When you purchase a pleated skirt and take it home, the pleats usually fall perfectly and don’t need any extra ironing. However, the time will come when you take it out of the washing machine and you’re faced with creasing that disrupts the natural pleats. As daunting as it may seem to iron a garment which isn’t as easy to deal with as the likes of a t-shirt, there are several ways to iron your skirt to keep it looking as good as new.
Using an ironing board is the way to go when ironing a pleated skirt, especially one which enables you to rotate the skirt in a full circle to iron the whole thing. Ensure that you have checked the care label stitched inside of the skirt before setting the iron to the recommended temperature. Then, implement the following steps:
Step One:
Set up your ironing station by sliding your skirt onto the board with the waist facing the narrow end and press the fabric as flat as it can go. Iron the waistband first and continue down to the where the pleats start to form. Rotate the fabric around the board so that you cover the whole waistband and top section of the garment.
Step Two:
Once you’ve finished ironing the waistband, it’s time to turn your attention to the pleats. Straighten out the pleats so they are flat against the board and stretch the material with your free hand. If you struggle with this, you can use straight pins to secure the pleats to the board. However, don’t iron over the pins - pull them out as you iron.
Step Three:
Focusing on one pleat at a time, start at the skirt’s hemline and slide the iron towards the waistband. If only a small section of the skirt is pleated, iron the flat surfaces first before moving onto the pleats so that the pleats don’t get creased afterwards.
Step Four:
To make sure that the pleats do not crease after ironing, raise the iron a couple of inches above each pleat and press down the steam button. Let each pleat cool down before carrying on with the next.
Step Five:
Once you’ve worked your way around the entire skirt, hang it on a clip hanger from the waistline in a dry location. Allow the skirt to dry thoroughly from the steam before wearing it. If worn damp, creases may form. If you plan to store the item in a wardrobe, try to give pleated clothes some more space to prevent wrinkles.
Note that certain materials, such as wool and viscose, can shine when ironed. Ironing can sometimes cause marks where the excess cloth is folded underneath, so remember not to press too hard while you iron. Alternatively, you can place a damp cloth over the marks and iron over it, or iron the skirt inside out to eliminate the possibility of a sheen.
Certain skirts made from jersey material do not need to be ironed at all, as they have been designed to stay in place with permanent pleats, so always check the type and material of your skirt.
Ironing smaller pleats can be time consuming as you have to focus on achieving a sharp finish for each individual pleat, which is undoubtedly more tedious than dealing with larger sections of pleated fabric. Simply follow the steps listed above, but when it comes to ironing the pleats, implement these tips instead:
● Separate the pleats (secure the garment in place with pins as you will be dealing with smaller areas).
● Slide the iron up the material which is hidden by the pleats. The pointed part of the iron should manage to slide up the intersection of fabric that has been sewn into a V shape.
● Once you’ve ironed the hidden sections of material to emphasise the intentional edges of the pleats, fold and arrange your garment in the way it’s meant to appear ready to iron over the pleats themselves.
● Begin at the top of the pleat (closet to the waistband) and work your way downward.
● Once you’ve finished ironing the whole garment, hang it from the top to keep the pleats straight and crease-free.

See our privacy policy to understand how we process your data to send you marketing emails
Copyright © 2026 Chums